In todays session, our goal was to create a collage of an edited version of one of our prints/designs.
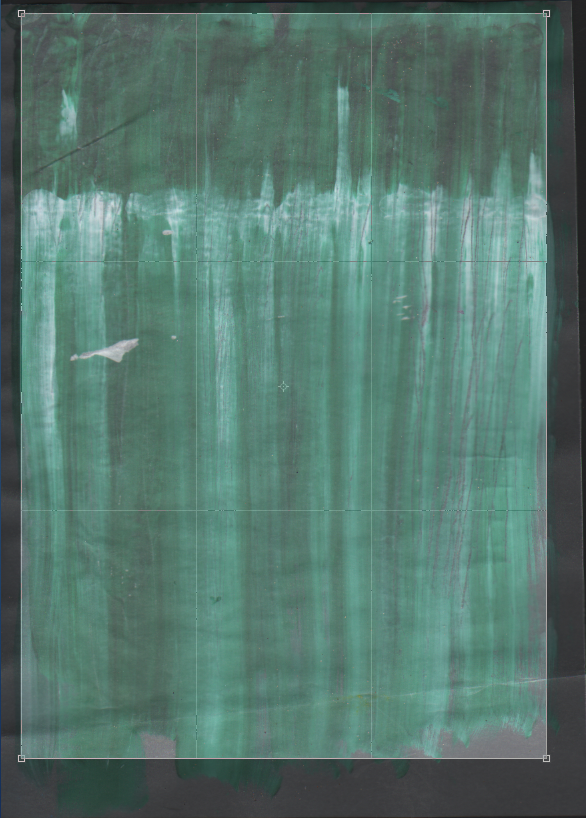 |
First, I scanned my chosen design using the scanner. I did this using a resolution of 150dpi.
After this, I opened my image in photoshop so I could begin my editing. I wanted to crop my image so, I opened the crop tool and set it to an A5 dimension [148mm x 210mm] and kept it at 150dpi. |
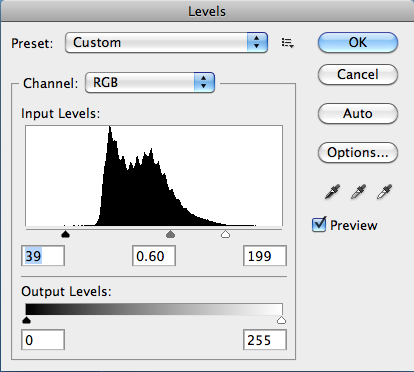 |
| Next, I edited to levels of my image; this is used to adjust the contrast so that the image regains its original colour and vibrance. |
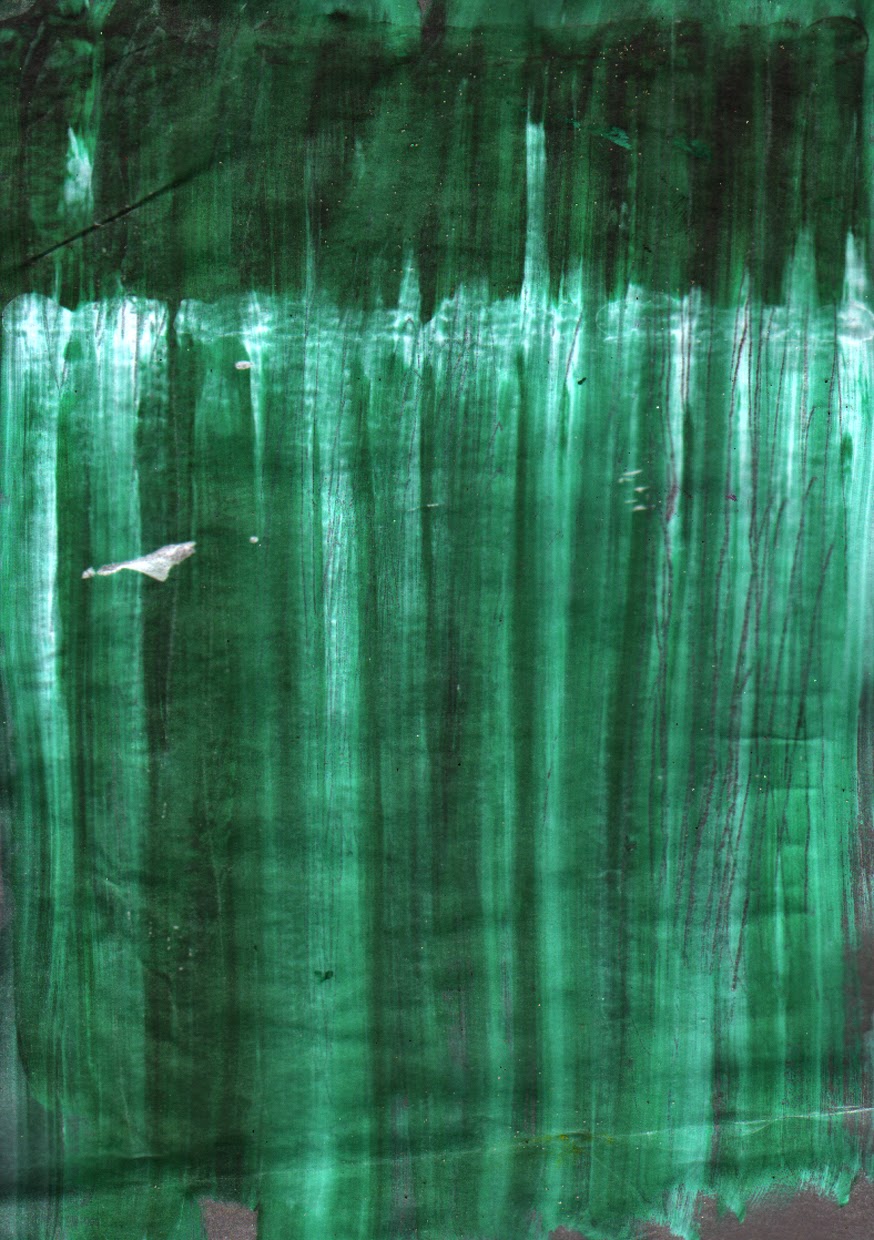 |
| The result of adjusting the levels. |
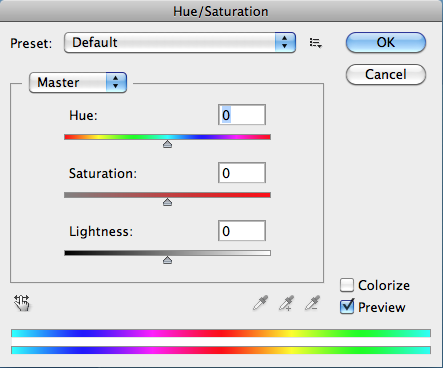 |
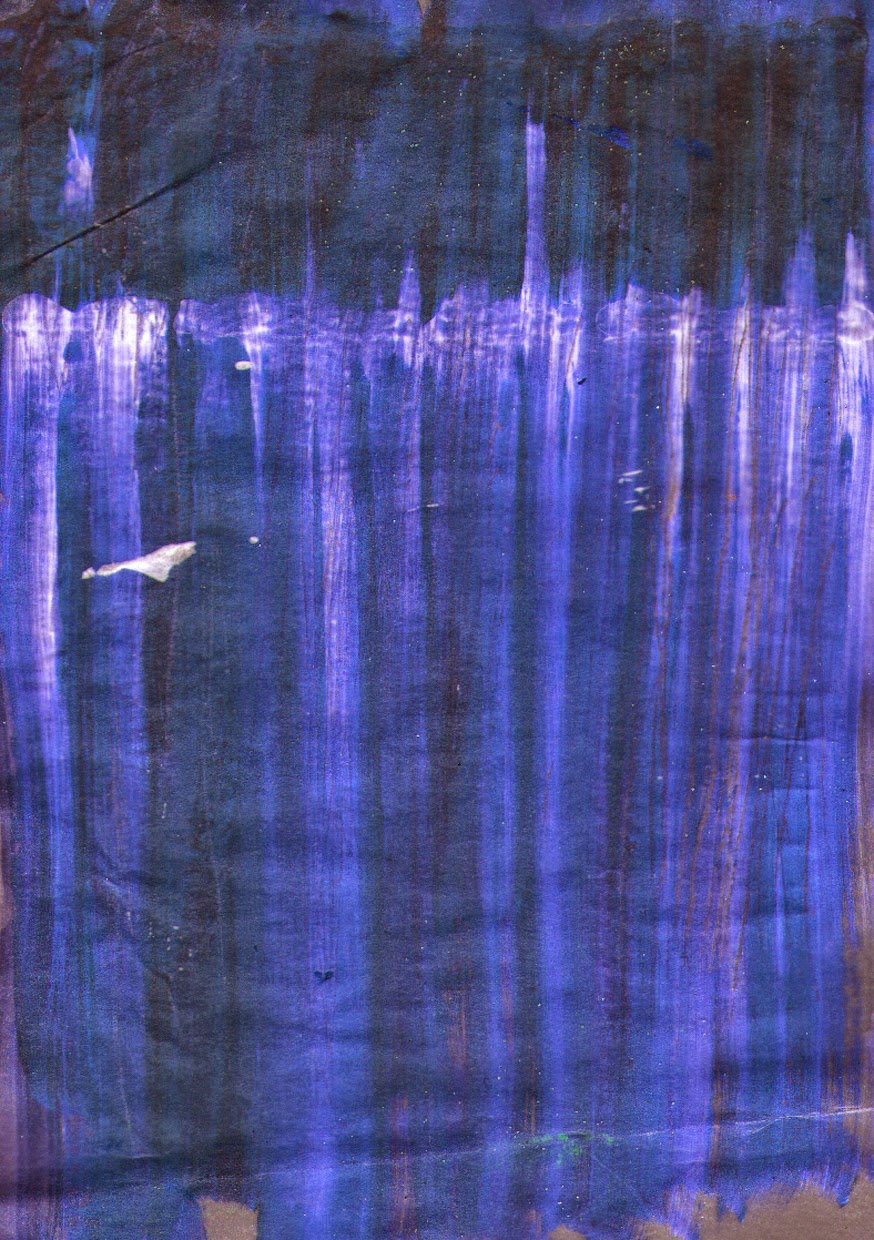
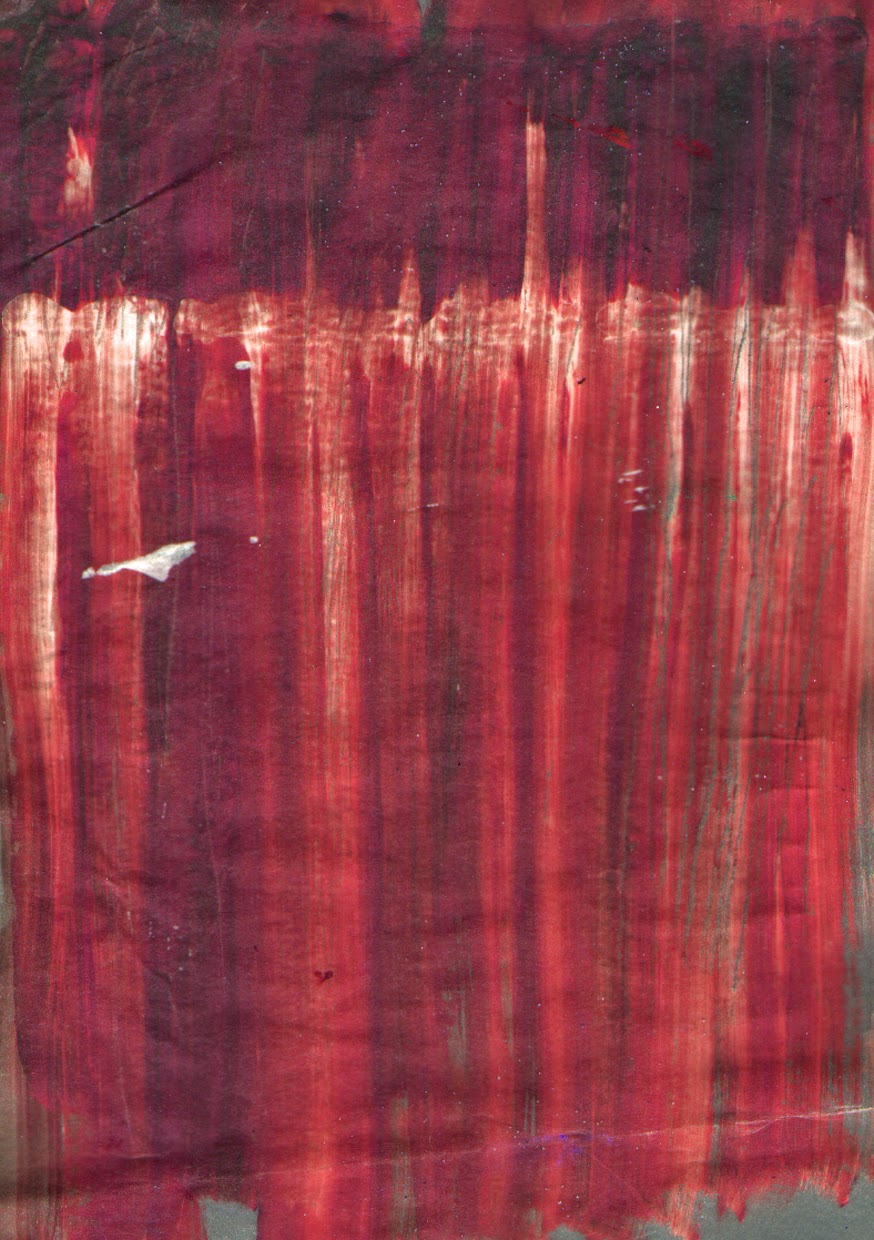
| I then needed to create 3 other copied of my design and make each a different colour. To do this, I used the Hue and Saturation tool and saved each as a JPEG file so that I could use them later. |
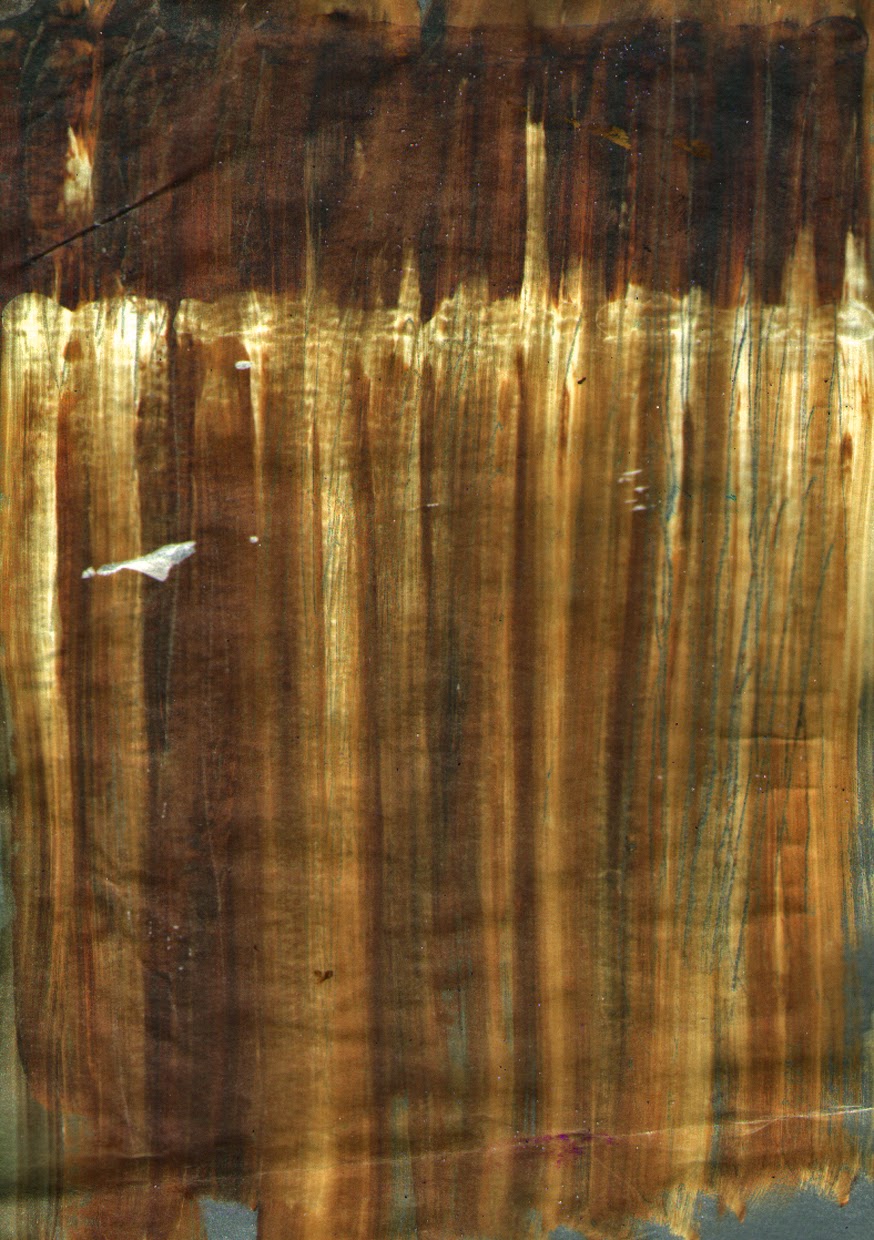 |
| The result of the Hue and Saturation. |
I then created a new Photoshop Canvas that I opened with A3 dimensions [420mm x 297mm] and 150dpi. I am using A3 as you are able to fit 4 x A5 images on one A3 file.
I then reopened my A5 edited images in Photoshop and dragged each onto the larger A3 sheet.
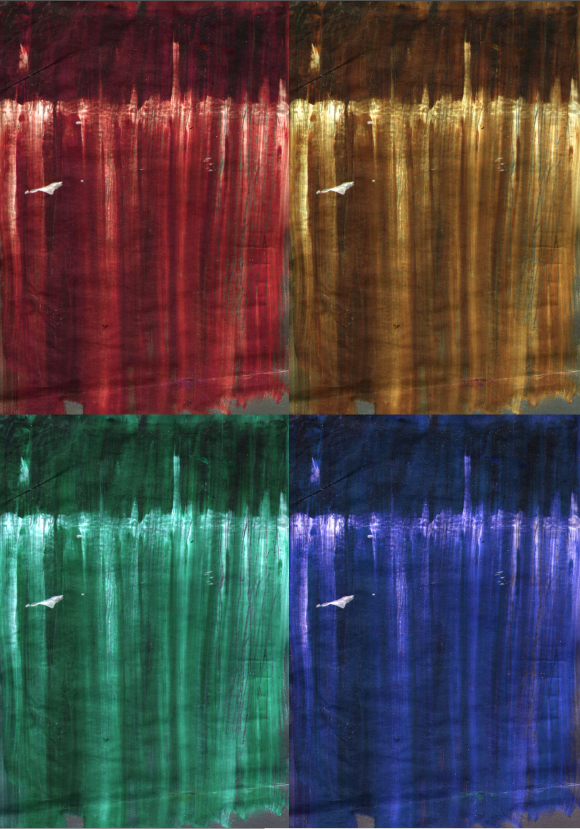 |
| The Final Image. |
No comments:
Post a Comment