Tuesday 20 May 2014

Merging Two Designs on Photoshop

For this task, I had to merge two different designs of mine (one of which being the digital repeat pattern I made previous to this) to create a completely new piece.


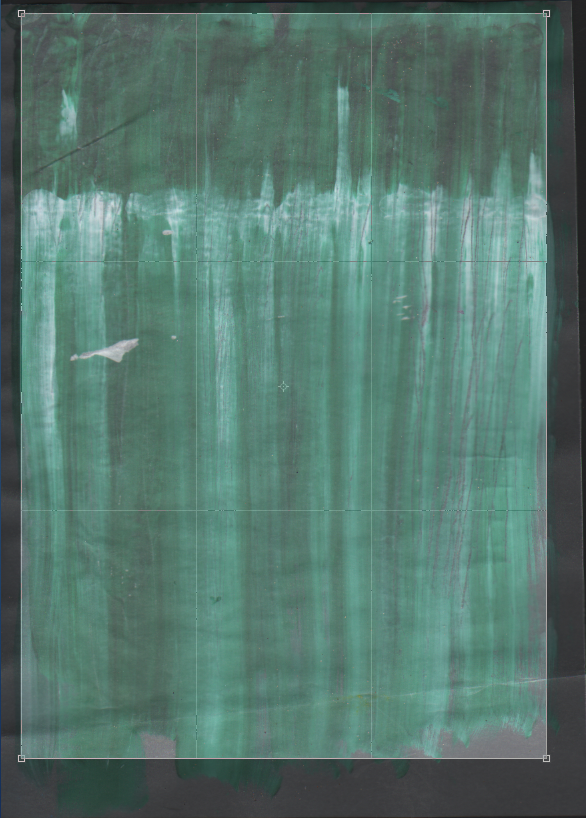
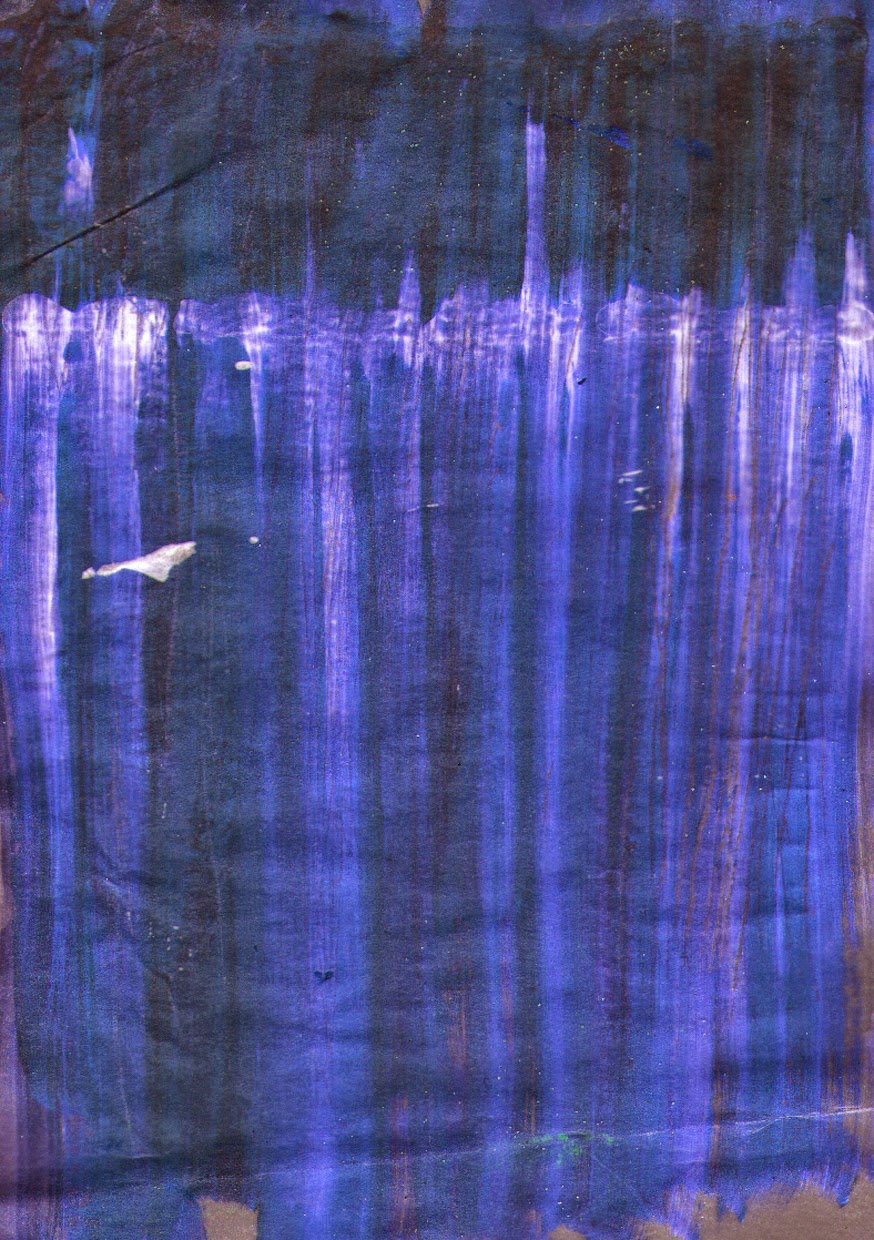
This image shows one of my designs. I did this one during studio time but scanned it in to use as one out of the two designs of mine.


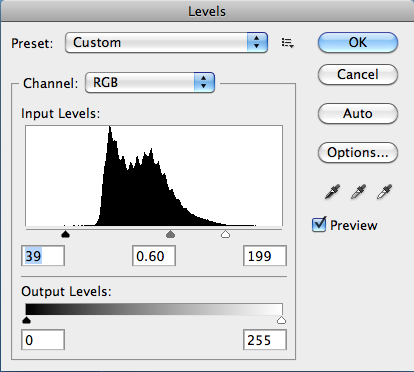
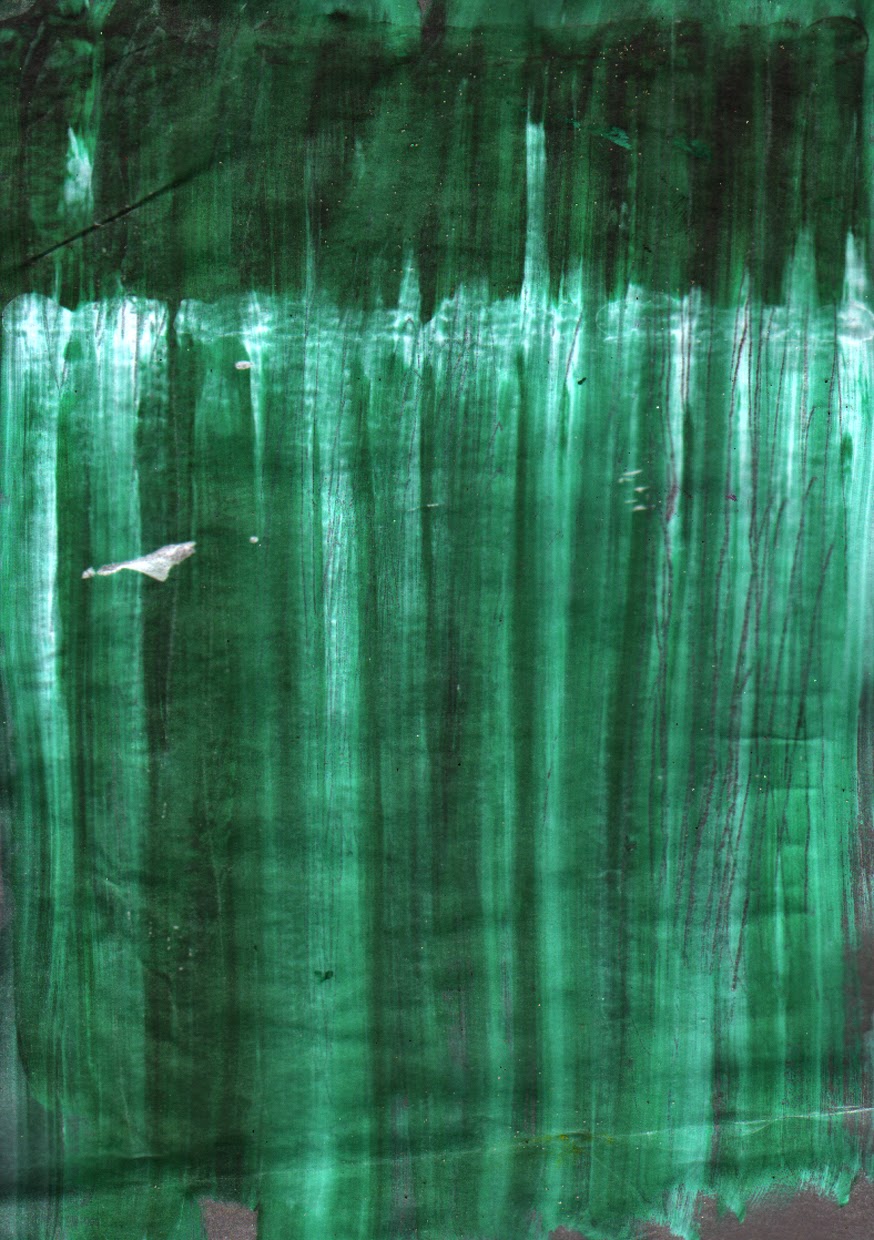
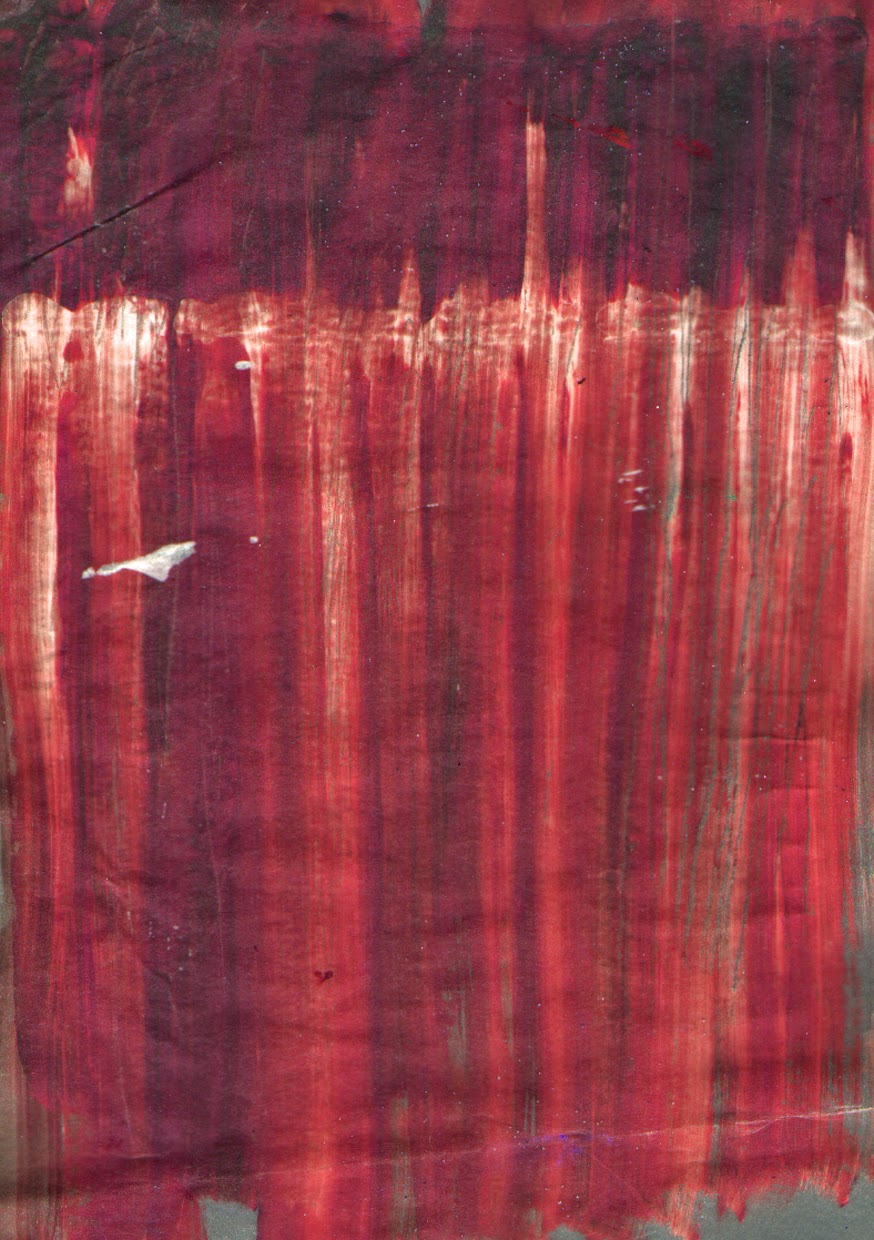
I wanted to make it look like the original image; so, I wanted to remove any unwanted shadows and make the colours more vibrant. I did this using the levels tool.


I then rotated the image so it was like the original and then saved it as a pattern to use again on a lager file.


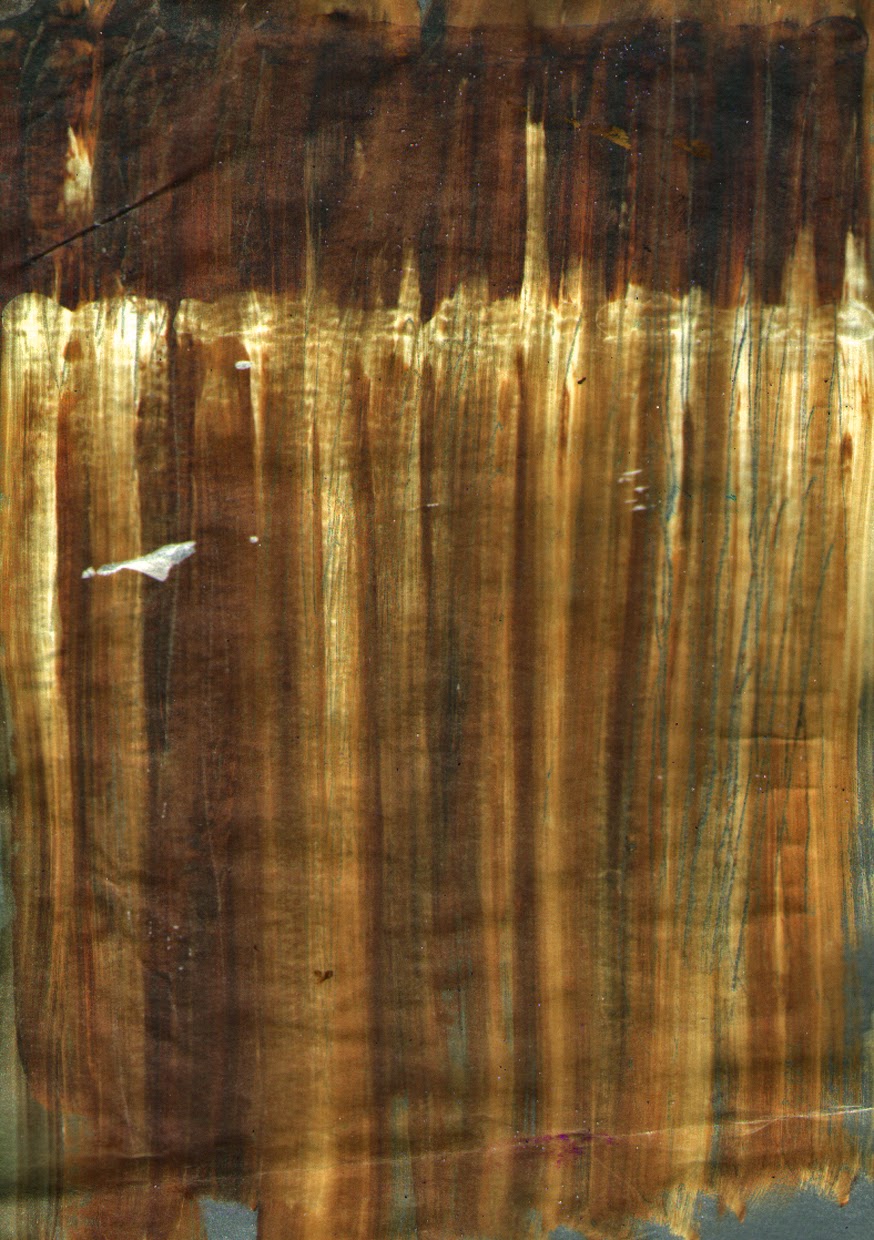
I opened a new file using a larger resolution and also selected my pattern to fill it using the fill tool.


The larger file resolution allowed my image to repeat almost 5x.


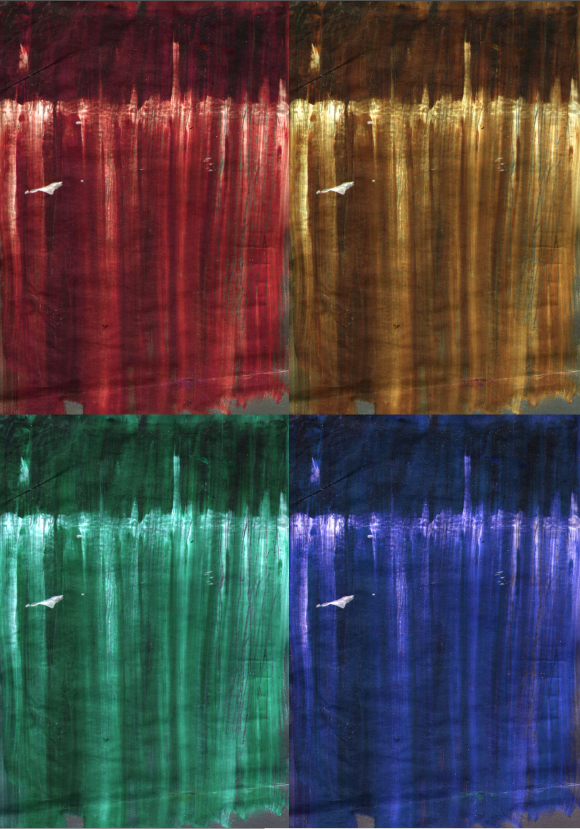
I then wanted to merge these two images, my scanned image and my digital repeat pattern, to create a final design. I did this by selecting the move tool and dragging one image onto the other.
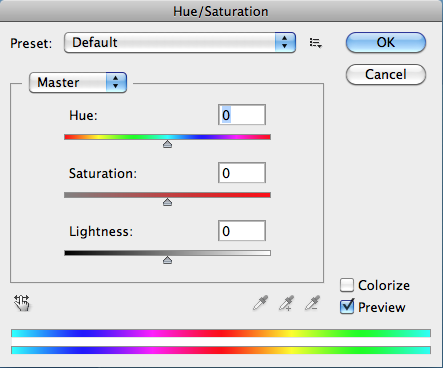
Then, while on the layers, I chose an edit called 'difference'. This allowed both designs to show through in an interesting way and, after playing with the hue, this was the result.

The Final Piece

Creating a Repeat Pattern using Photoshop

For this session, our task was to create a repeat pattern using photoshop tools. This meant it was a purely digital outcome unlike most other examples of our work which is created during lesson time.

Image 1
Image 2


First, I selected the paint tool and created a background colour. I then moved on to drawing my pattern which I did so using different colours and opacities. Image 1 was the result.
I then saved my design as a paintbrush which means I will no longer have to craw may design but can simply select it though the paintbrush tool.
Image 2 shows the next step. I wanted to divide my image into quarters and move them from the centre to each of the 4 corners so that the repeat pattern would be successful later. I simply went to the filter menu, selected other and the offset.


When I selected offset, I could manipulate my design so I could fit them into the corner as I thought was best.


The result


Next, I went to the paintbrush menu and selected my paintbrush so that I could stamp one more of my design into the new space.


The result


I then opened a new file 4x the size of the original file so that more of my design can be repeated and I could get the full effect.
I went into the edit menu and selected fill to which I could then select my pattern to fill the page with.


The Final Piece

Tuesday 13 May 2014

Scanning/Adjusting size/Contrast & Colour of Patterns

In todays session, our goal was to create a collage of an edited version of one of our prints/designs.

First, I scanned my chosen design using the scanner. I did this using a resolution of 150dpi.
After this, I opened my image in photoshop so I could begin my editing. I wanted to crop my image so, I opened the crop tool and set it to an A5 dimension [148mm x 210mm] and kept it at 150dpi.
Next, I edited to levels of my image; this is used to adjust the contrast so that the image regains its original colour and vibrance.
The result of adjusting the levels.
I then needed to create 3 other copied of my design and make each a different colour. To do this,  I used the Hue and Saturation tool and saved each as a JPEG file so that I could use them later. 

The result of the Hue and Saturation.


 I then created a new Photoshop Canvas that I opened with A3 dimensions [420mm x 297mm] and 150dpi. I am using A3 as you are able to fit 4 x A5 images on one A3 file.
I then reopened my A5 edited images in Photoshop and dragged each onto the larger A3 sheet.


The Final Image.